
A Landowner's Guide to Sealing a Tree Stump in Florida
- Mike Walker
- 2 days ago
- 14 min read

So, you’ve had a tree taken down, and now you’re left with the stump. It might seem like a small detail, but here in Central Florida, that leftover stump can quickly turn from a simple eyesore into a real headache for your property.
Sealing a tree stump isn't just about tidying up; it's a strategic move to protect the health of your entire yard and even your home. Think of it as creating a protective barrier against our humid climate and all the unwanted guests it invites.
Why Sealing a Tree Stump Is a Smart Move in Florida
When a tree is removed, leaving the stump exposed is like leaving a wound open. In our neck of the woods, an unsealed stump is an open invitation for problems that can escalate surprisingly fast.
This is about more than looks—it’s about responsible property management. By being proactive, you're not just covering up a piece of wood. You're safeguarding your landscape, and potentially your home's foundation, from a whole host of future troubles.
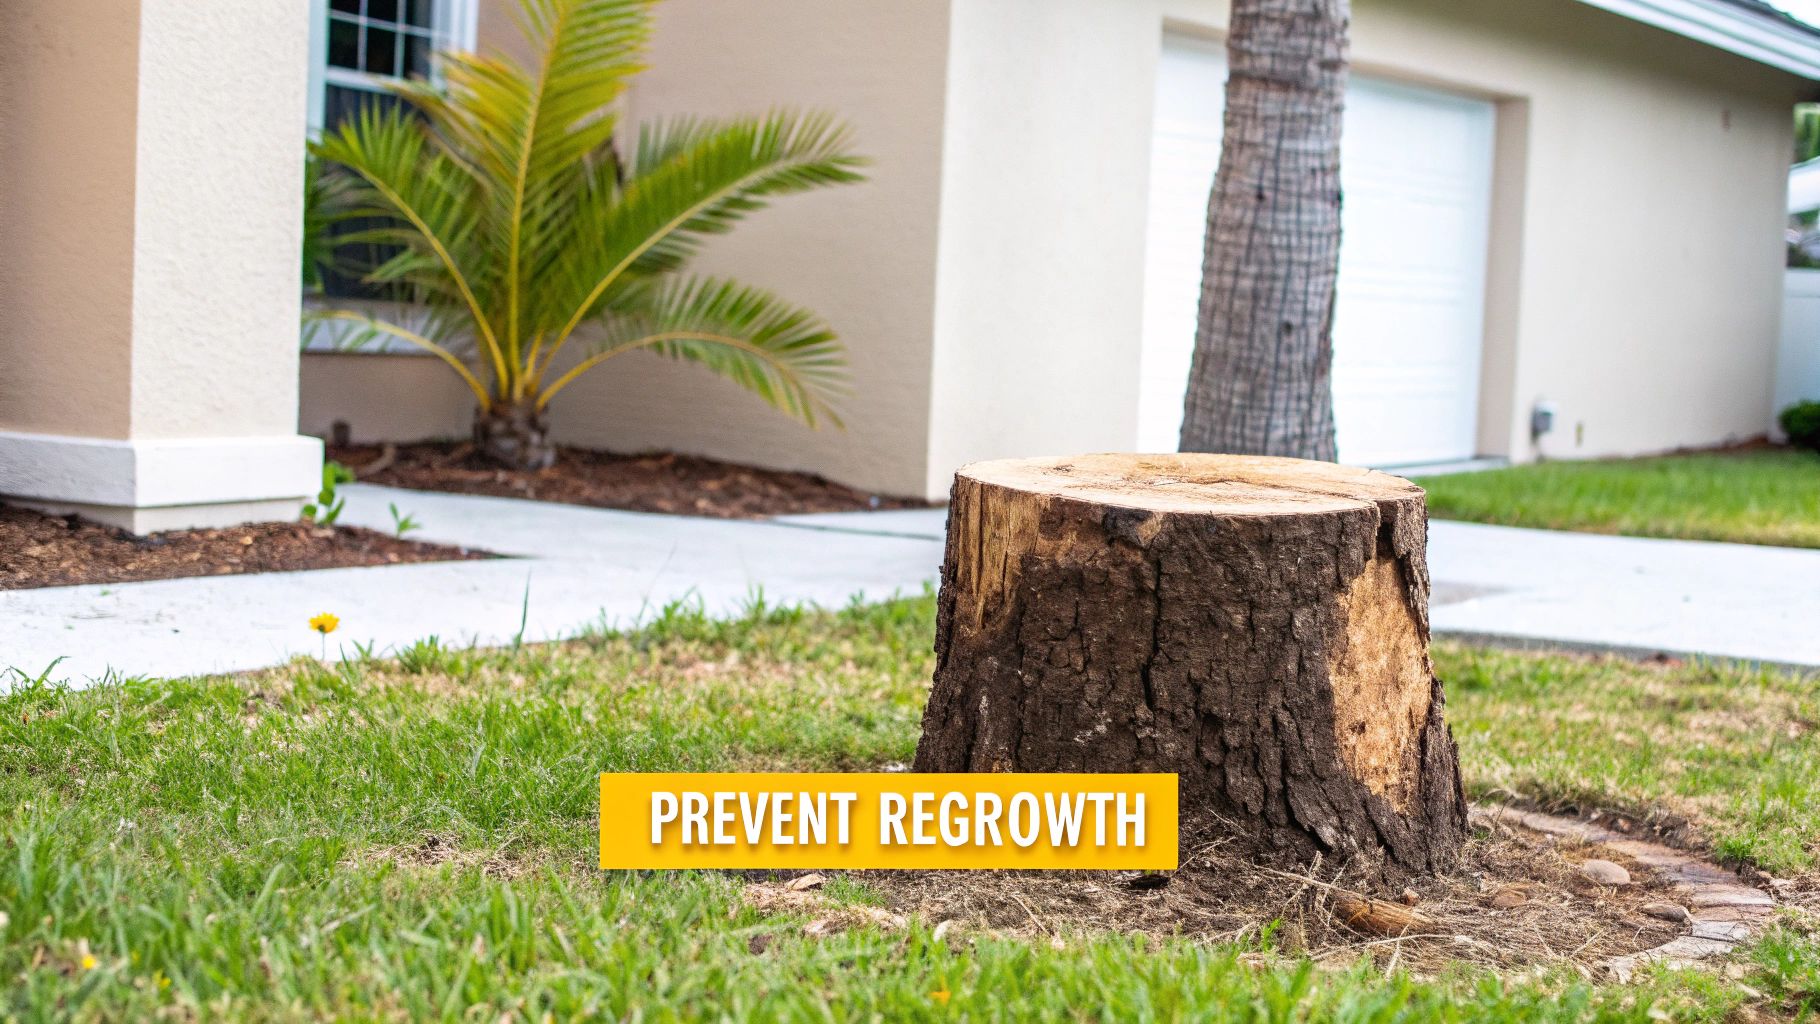
Halting Aggressive Regrowth
Anyone who’s dealt with Florida trees knows how stubborn they can be. Species like our native oaks and invasive camphor trees have massive root systems that just don't know when to quit. If you leave that stump alone, you’ll likely see a bunch of new sprouts, or "suckers," popping up all around it.
Before you know it, you have a dense thicket that’s a real pain (and expense) to deal with down the road. Sealing the stump essentially starves the living tissue right under the bark, cutting off the energy supply the roots need to send up new growth.
Creating a Fortress Against Pests
An unsealed, decaying tree stump is a five-star hotel for destructive insects. We're talking termites, carpenter ants, and powderpost beetles—all of which love feasting on moist, rotting wood.
Once they set up a colony in the stump, it's a very short trip for them to find your house, shed, or deck. Sealing the stump makes the wood completely unappealing to them. To get a better idea of what you’re up against, check out this guide on common wood-infesting pests. A good seal forces these critters to find an easier meal somewhere else.
Containing Fungal Spread
Fungi absolutely thrive in the damp, decaying environment of an old stump. While some are harmless decomposers, others can spread nasty diseases like root rot to your other healthy trees and shrubs, especially if their root systems are close by.
Sealing the fresh-cut surface of a stump is one of the best ways to stop this from happening. It creates a physical shield that keeps airborne fungal spores from landing and taking hold, protecting the rest of your valuable landscape.
This isn’t just a homeowner trick anymore; it’s becoming standard practice in professional land management. In fact, the global stump removal industry is on track to hit about $3.8 billion by 2033. This shows a growing awareness that dealing with stumps properly is a key part of managing risk for properties of all sizes. It’s a crucial step in protecting the surrounding plants and infrastructure.
To give you a clearer picture, here’s a quick look at what you can expect over a few years depending on whether you seal your stump or not.
Sealant vs No Sealant Key Differences in Central Florida
Outcome | Sealed Stump | Unsealed Stump |
|---|---|---|
Pest Activity | Low. The physical barrier and lack of moisture deter termites and ants. | High. Becomes an ideal nesting site for pests within 6-12 months. |
Fungal Growth | Minimal. The surface is protected from airborne spores. | Significant. Mold, mildew, and fungi appear within 3-6 months. |
Regrowth (Suckers) | None. The cambium layer is suffocated, preventing new shoots. | Likely. Sprouts can appear around the base within the first 1-2 seasons. |
Decomposition Rate | Slow and controlled. Decay happens from the inside out, taking 5-10+ years. | Rapid and uncontrolled. The stump becomes soft and punky in 2-3 years. |
Aesthetic Look | Clean and tidy. Remains intact and less of an eyesore. | Messy. Quickly looks rotten, crumbles, and attracts yard debris. |
As you can see, a little effort upfront to seal the stump goes a long way in preventing a lot of bigger, more expensive problems later on.
Choosing Your Stump Sealing Materials and Tools
Having the right gear on hand can turn sealing a tree stump from a messy, frustrating chore into a quick, effective project. This isn't about grabbing any old can of paint from the garage; it's about choosing materials specifically designed to stand up to Florida's punishing, high-humidity climate.
Your choice of sealant is by far the most critical decision you'll make. The entire goal is to create an impenetrable barrier against moisture and pests, and different products get you there in different ways.
Selecting the Right Stump Sealant
Not all sealants are created equal, especially when you're up against the Sunshine State's weather. Some options are a better fit for certain types of wood, while others offer superior durability against our intense sun and relentless rain.
Let's break down the most common choices you'll find.
Breathable Latex-Based Paint: This is a surprisingly effective and budget-friendly option, especially for hardwoods like oak. Its biggest advantage is that it allows the stump to slowly release internal moisture, which prevents the sealant from bubbling up or peeling off as the wood dries out. The trade-off? It offers less physical protection than thicker compounds.
Heavy-Duty Asphalt or Tar Sealer: When you need maximum, no-nonsense waterproofing, this is your go-to. It’s perfect for porous woods like pine that just love to soak up moisture. This thick, black coating creates a rubbery, waterproof shield that’s nearly impossible for water or insects to get through. The only real downside is its messy application and less-than-natural look.
Specialized Pruning Compounds: You'll find these in most garden centers, and they are designed specifically for treating tree wounds. They're incredibly easy to apply and are formulated to prevent fungal growth. While they work great, they can get expensive if you're trying to cover a large stump surface compared to a simple can of asphalt sealer.
Ultimately, the best choice really depends on your specific stump and what you're trying to accomplish. For a big, stubborn pine stump near a soggy part of your yard, an asphalt sealer gives you the best defense. For a smaller oak stump in a dry, sunny area, a quality exterior latex paint will usually do the trick just fine.
Making these small but important decisions is part of a larger trend in modern property care. What you do after a tree is removed—like sealing a stump—has real long-term financial implications. The U.S. tree trimming and services industry is projected to hit $39.5 billion in revenue by 2025. This growth shows a shift from just cutting down trees to managing the entire vegetation lifecycle, which includes effective stump treatment to head off future costs. You can learn more about the scale of the tree services economy and its growth. For property owners, this means that sealing, grinding, or using herbicides are all recognized as vital steps.
Assembling Your Toolkit
Once you've picked your sealant, gathering the right tools will make the application clean and effective. You don't need a professional-grade setup, just a few key items to get the job done right.
Here’s what your essential toolkit should include:
Safety Gear: Don't even start without nitrile gloves and safety goggles. Tar-based sealants are a nightmare to get off your skin, and eye protection is absolutely non-negotiable.
Preparation Tools: A stiff wire brush is a must-have for clearing away sawdust, dirt, and any loose bark. The sealant needs a clean surface to adhere properly.
Application Tools: Disposable chip brushes are your best friend here, especially for those goopy asphalt sealers. You won't want to clean them, so having a few cheap ones on hand is a smart move.
Cleanup Supplies: Keep mineral spirits or paint thinner nearby if you're using an oil-based or tar product. It’s the only thing that will actually clean up spills and drips.
Remember, sealing is just one way to stop regrowth. In some situations, you need a more aggressive approach. To figure out when killing the root system is the real priority, check out our detailed guide on when to use herbicide on a stump. It can be a powerful alternative or even a complementary step to sealing.
A Practical Walkthrough of the Sealing Process
Alright, you've got your materials and tools lined up. Let's get this stump sealed. The actual process isn't rocket science, but the devil is in the details. Getting the prep work, timing, and application just right is what separates a long-lasting, protective barrier from a job you'll have to redo in a year.
Think of it like painting a wall. You wouldn’t just slap a coat of paint over dirt and grime, right? The same logic applies here. A clean, properly prepared stump is the foundation for a seal that won't crack, peel, or fail you when you need it most.
Perfecting Your Stump Preparation
First things first: get that stump surface immaculate. Grab your wire brush and give the entire cut surface a vigorous scrub. The goal here is to get rid of every last bit of sawdust, dirt, and any loose, flaky wood. This step is absolutely non-negotiable if you want the sealant to bond properly.
Next, take a look at the surface itself. Is it level? If the tree was cut on a slant, you're creating a perfect little basin for rainwater to collect, which is exactly what we're trying to avoid. You don’t need it to be perfectly flat, but if there are any major high spots, sand them down a bit to encourage water to run off.
This graphic gives you a quick visual breakdown of the job, from prep to the final cure.
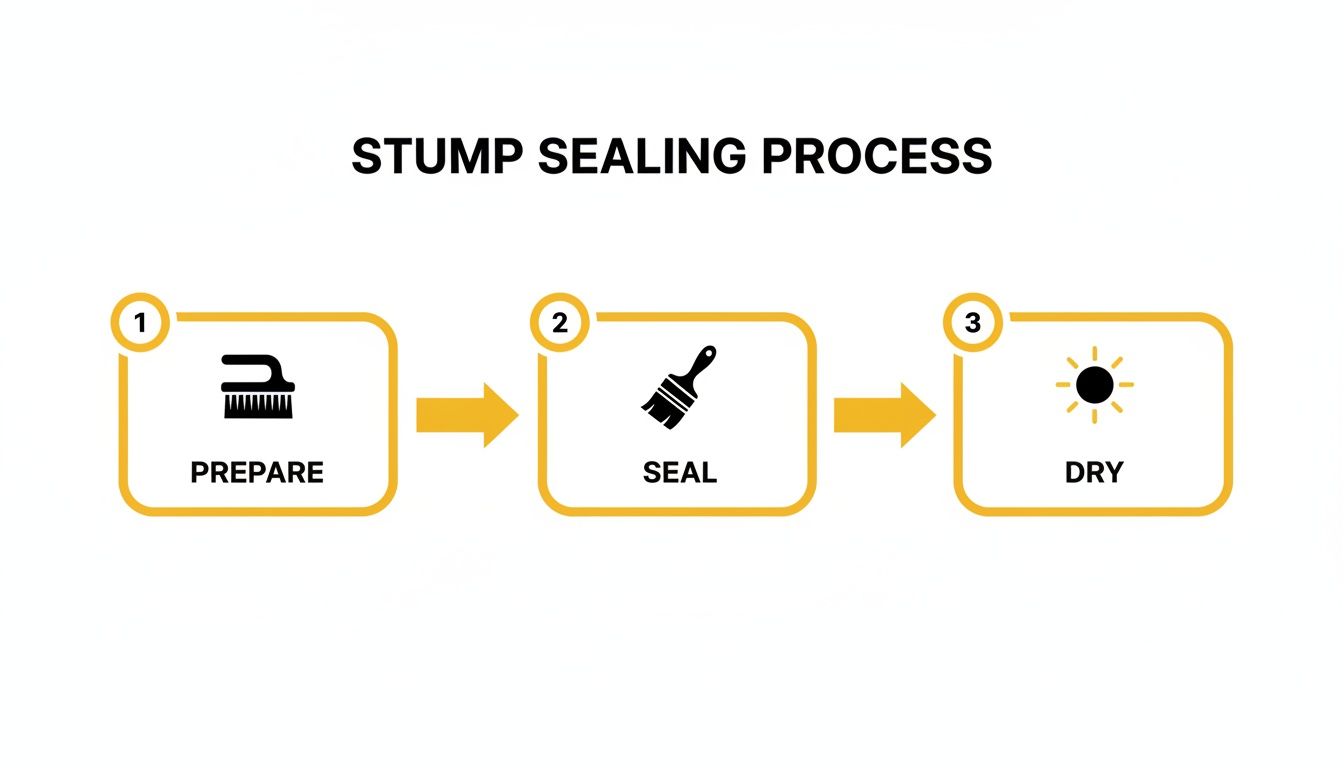
As you can see, it's a straightforward flow. Each step sets the next one up for success, and it all starts with good prep work.
Timing Your Application for Florida Weather
Down here in Florida, timing is everything. The sweet spot for sealing a tree stump is within 24-48 hours after it's been cut. A fresh cut means the wood's pores are wide open, letting the sealant soak in deeper and form a much stronger bond. If you wait too long, the wood starts to dry and form tiny cracks that can compromise the seal from day one.
Just as important is the weather. You absolutely need a solid block of dry weather—I'm talking at least 24 hours, but ideally 48—for the sealant to cure. Applying it right before one of our classic afternoon thunderstorms is a surefire way to wash all your hard work right off the stump. Always, always check the forecast.
A classic rookie mistake is sealing a stump on a super humid day. All that moisture in the air can seriously slow down the curing process, leaving the sealant tacky and vulnerable for way too long. A dry, low-humidity day is your best friend for a quick, solid cure.
This focus on proper follow-up is standard practice in the land management world. The global stump grinder market hit $264 million in 2023, and a huge chunk of that equipment—about 39%—is used by municipalities where preventing rot near infrastructure is a top priority. They take these follow-up steps seriously, and so should you. You can see more on these global stump grinder industry trends to get an idea of the scale.
Mastering the Application Technique
Now for the main event. Grab a disposable chip brush and start applying your sealant to the top of the stump. I like to work from the center out, putting on a nice, thick, even coat. Don't be stingy here; you want a substantial layer of protection.
Once the top is covered, turn your attention to the edges. Make sure you wrap the sealant down the sides of the stump by at least an inch or two. This is the step everyone forgets, but it's critical. You're sealing the cambium layer—that living tissue right under the bark—which is ground zero for most regrowth and pest problems.
For the best possible protection, I'm a big fan of the two-coat method.
Put on your first coat and let it set up until it's just tacky to the touch (the product label will give you a timeframe).
Then, apply a second coat. This will fill in any tiny pinholes or thin spots you might have missed the first time around.
Using two thinner coats creates a much more resilient and uniform barrier, one that’s better equipped to handle the wood expanding and contracting with Florida's wild temperature swings. After that final coat, just let it be. Give it at least 24 hours to cure without being disturbed.
Comparing Sealing With Other Stump Removal Methods
While sealing a tree stump is a fantastic, affordable strategy, it’s just one tool in the landowner's toolkit. To make the best call for your property, you need to know the other options on the table.
Your decision really boils down to one question: what's the end goal for that space? Are you trying to get grass growing ASAP? Do you need to stop a stubborn tree from coming back with a vengeance? Or are you just trying to clean up a stump in a back corner of your yard? Each method shines in different scenarios.
Stump Grinding: The Quick Fix
Stump grinding is the most popular choice for a reason. It gets the job done quickly and without turning your yard into a construction site. A specialized machine with a high-speed cutting wheel literally chews the stump down several inches below the soil, leaving behind a pile of wood chips.
The Big Win: It gets rid of the visible stump, fast. You can fill the spot with topsoil and plant grass or shallow-rooted flowers almost immediately.
The Catch: Grinding does not get rid of the entire root system. The main stump is gone, but those deeper roots are still down there and will take years to rot away.
This is your best bet when you just want a clean, level surface without the wait. But if you're dealing with a tree known for sending up suckers, it might not be the final solution. To really dig into this, check out our guide comparing stump grinding vs complete stump removal.
Herbicide Application: For Total Annihilation
Got a tree that just won't quit? For aggressive species notorious for sprouting back—think camphor or certain types of oak—herbicide is the way to go. A systemic herbicide is painted directly onto the freshly cut stump. From there, it gets absorbed and travels all the way down into the roots, killing the entire system for good.
This method is your guarantee against any regrowth. Period. The trade-off is that you're working with strong chemicals and it’s not an instant fix; it can take several weeks or even months to fully work. It's the right move when your top priority is total eradication, not just getting rid of the visible stump.
While they might seem like opposites, sealing and herbicides serve very different masters. Sealing is about preservation and pest control; herbicides are all about complete elimination.
Complete Stump Removal: The Nuclear Option
Then there's the most thorough method of all: complete stump removal. This is exactly what it sounds like. We bring in heavy machinery like an excavator to dig out the entire stump and its main root ball. It’s the only way to be 100% sure the whole structure is gone, making the ground ready for new construction or deep-rooted trees.
Of course, this is also the most expensive and disruptive option. It leaves a big hole that needs to be properly filled and compacted. Some people even opt to fill the void with concrete, though that's a whole other project. If that's a route you're considering, you'll want to calculate the amount of Quikrete needed for filling to do the job right.
Stump Treatment Method Comparison
To help you see how these options stack up, here’s a quick comparison. Think about your budget, timeline, and what you ultimately want to achieve with the space where the stump is.
Method | Typical Cost | Primary Goal | Best For |
|---|---|---|---|
Sealing | Low | Preservation, pest prevention, controlled decay | Repurposing stumps, low-traffic areas, budget-conscious projects |
Grinding | Moderate | Fast surface-level removal | Replanting grass, immediate aesthetic improvement |
Herbicide | Low to Moderate | Complete kill of the root system | Preventing regrowth from aggressive tree species |
Removal | High | Total elimination of stump and roots | New construction, deep planting, immediate use of the land |
So, where does sealing fit into all of this?
Sealing a tree stump is the perfect solution when you don't need it gone tomorrow. It’s budget-friendly, keeps pests and fungus out, and lets the stump break down naturally without becoming an eyesore or a hazard. It’s ideal for stumps in out-of-the-way places or for those you might want to turn into a unique planter or garden feature.
Long-Term Stump Care and When to Call the Pros
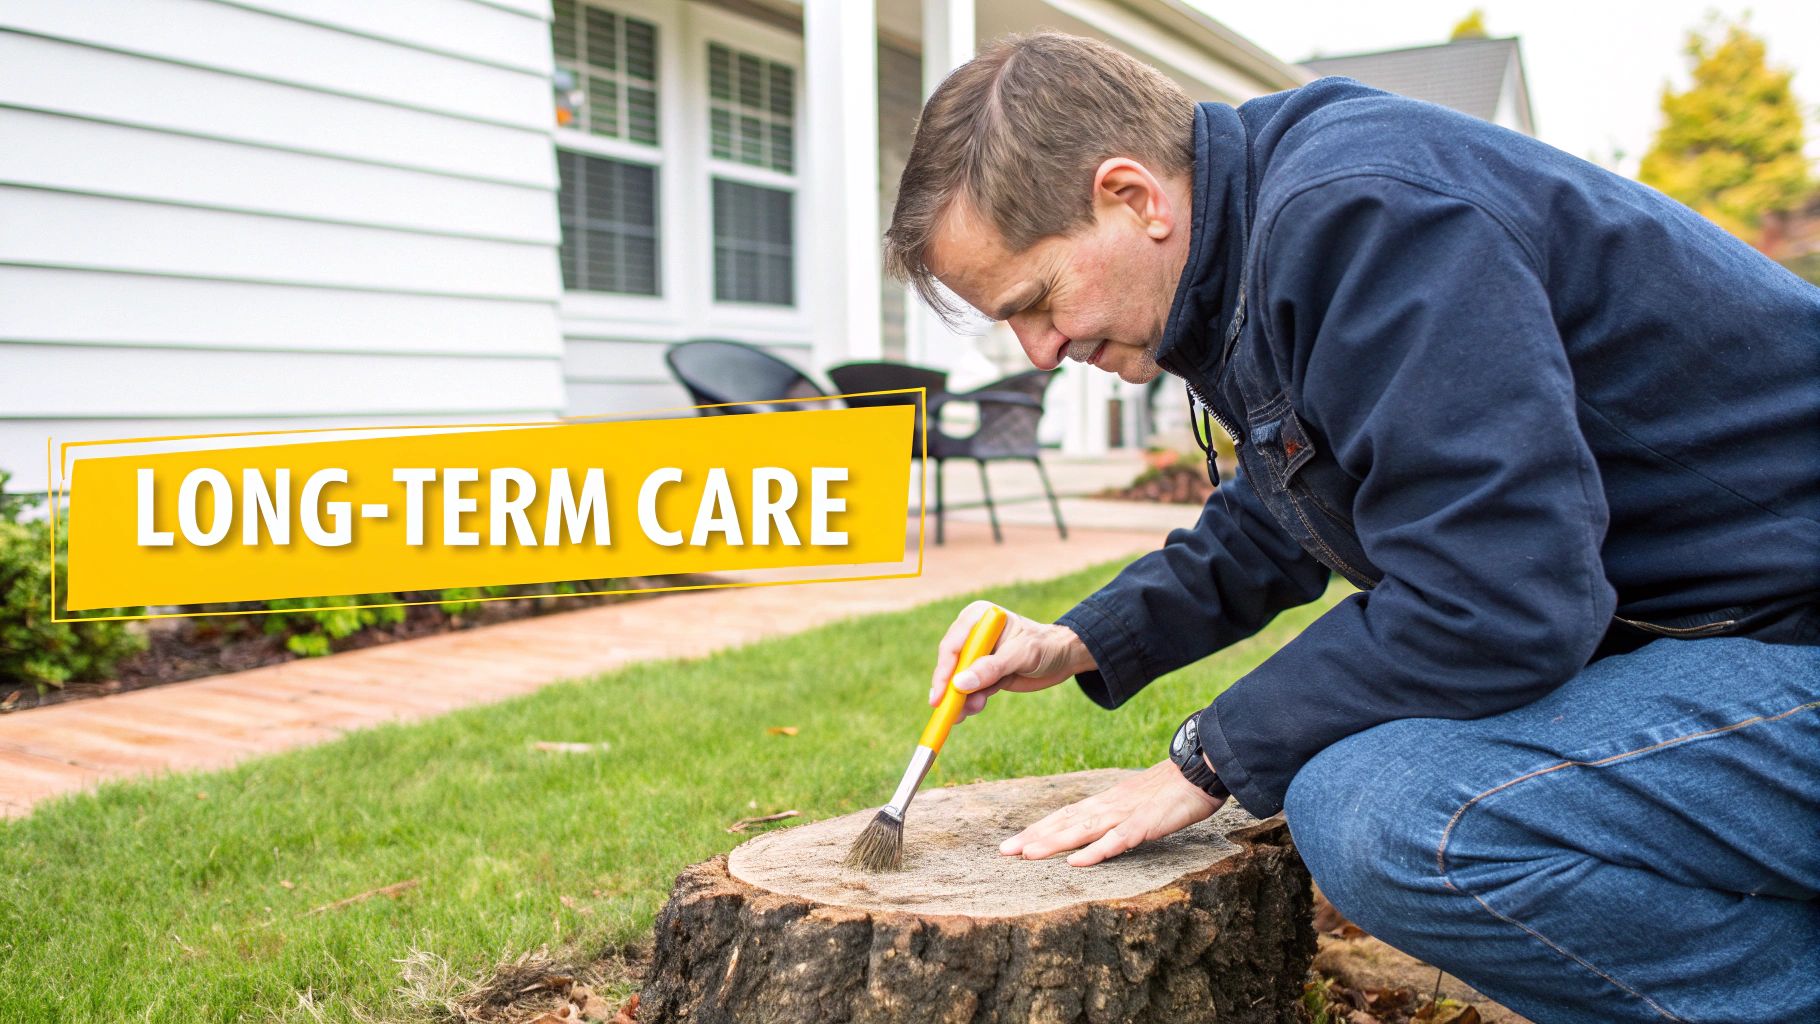
Once your sealant has fully cured, you might think the job is done. Not quite. Sealing a stump gives you fantastic long-term protection, but a quick annual check-up is what keeps that barrier solid, especially after a brutal Central Florida summer.
Think of it like any other piece of preventative maintenance around your property. Once a year, just take a walk over to the stump and give it a good, close look. You’re hunting for any weak spots that could let pests or moisture back in.
Performing an Annual Inspection
This little inspection only takes a few minutes, but it can save you from having to do this whole process over again. Keep a sharp eye out for these specific red flags:
Cracks or Peeling: Florida’s relentless sun can make even the toughest sealants brittle over time. Look for any hairline fractures or spots where the coating is starting to lift away from the wood.
Signs of Pests: Get down low and check the base of the stump and the sealed surface. You're looking for termite mud tubes or that fine, sawdust-like material (frass) that carpenter ants leave behind.
Water Pooling: After a good rain, check if water is sitting on top of the stump. This is often a sign of a low spot where the sealant might be getting weak.
Spot a small crack or a bit of peeling? The fix is usually easy. Just rough up the area with a wire brush, wipe it clean, and apply a quick touch-up coat of your sealant. This simple step keeps that protective shield strong.
Catching a small breach early is everything. A tiny crack can let in just enough moisture to kickstart the decay process, completely undoing all your hard work.
Knowing When to Call a Professional
A DIY approach is perfect for most single, straightforward stumps. But some situations really do call for professional expertise. Your safety and your property’s integrity should always be the top priority.
It’s time to pick up the phone if you’re looking at any of these scenarios:
Massive Stumps: Wrestling with a stump that's over two feet in diameter can be incredibly tough to seal properly. Frankly, it's often a better candidate for professional grinding.
Multiple Stumps: If you're clearing a property dotted with numerous stumps, it's a huge job. Professionals can handle it far more efficiently. After grinding, they can even use forestry mulching services to process all the debris right on site.
Stumps Near Foundations: Is the stump uncomfortably close to your house, shed, or driveway? Don't risk it. Professional removal is the only safe bet to avoid potential root damage to your structures down the line.
Questions We Hear All the Time About Sealing Tree Stumps
Even with the best plan, there are always a few last-minute questions that pop up before you get started. Let's tackle some of the most common ones we hear from property owners here in Florida to make sure you're feeling confident.
How Long Will a Sealed Tree Stump Take to Rot?
This is a big one. Sealing a stump basically hits the pause button on decay. An unsealed stump in our humid climate might be gone in 5 to 10 years, but once you seal it, you’re looking at 15 to 20 years—maybe even longer.
The sealant creates a barrier that keeps out the two things that cause rot: moisture and fungi. So, if your goal is to get rid of the stump fast, sealing isn't the way to go. You'll want to look into stump grinding instead. Sealing is for preservation, not quick removal.
Think of it this way: by slowing decay, you're choosing a controlled, clean breakdown over a rapid, messy one that attracts pests. It’s all about long-term management rather than immediate elimination.
Can I Paint a Sealed Stump for Decoration?
Absolutely, and it’s a great way to turn an old stump into a cool garden feature. You could make it a small outdoor table, a unique plant stand, or even just a decorative stool. If you used a latex-based sealant, it's easy—just wait for it to fully cure, then paint it with any exterior latex paint.
But a quick heads-up: this gets a lot trickier if you've used a dark, tar-based or asphalt sealer. That thick, black coating is a real pain to cover, especially with lighter paint colors. You'll likely need a specialized, heavy-duty primer to get the job done right.
What’s the Best Time of Year to Seal a Stump in Florida?
In Florida, timing is everything. You'll want to aim for our drier seasons, which are usually in the fall and spring. The most critical thing is to find a window of clear weather with at least 24 to 48 hours of no rain in the forecast.
This dry period isn't just a suggestion; it's essential. It gives the sealant the time it needs to cure properly and form that tough, waterproof bond. Trying to seal a stump during the daily downpours of our summer rainy season is just asking for trouble. A sudden thunderstorm can easily wash away all your hard work before it has a chance to set.
For a professional, no-hassle approach to stump management in Central Florida, trust the experts at Palm State Clear Cut. From sealing and grinding to complete land clearing, we have the equipment and expertise to prepare your property the right way. Get your free quote today!
Comments