
Your Guide to Safely Removing Tree Limbs
- Jan 3
- 17 min read
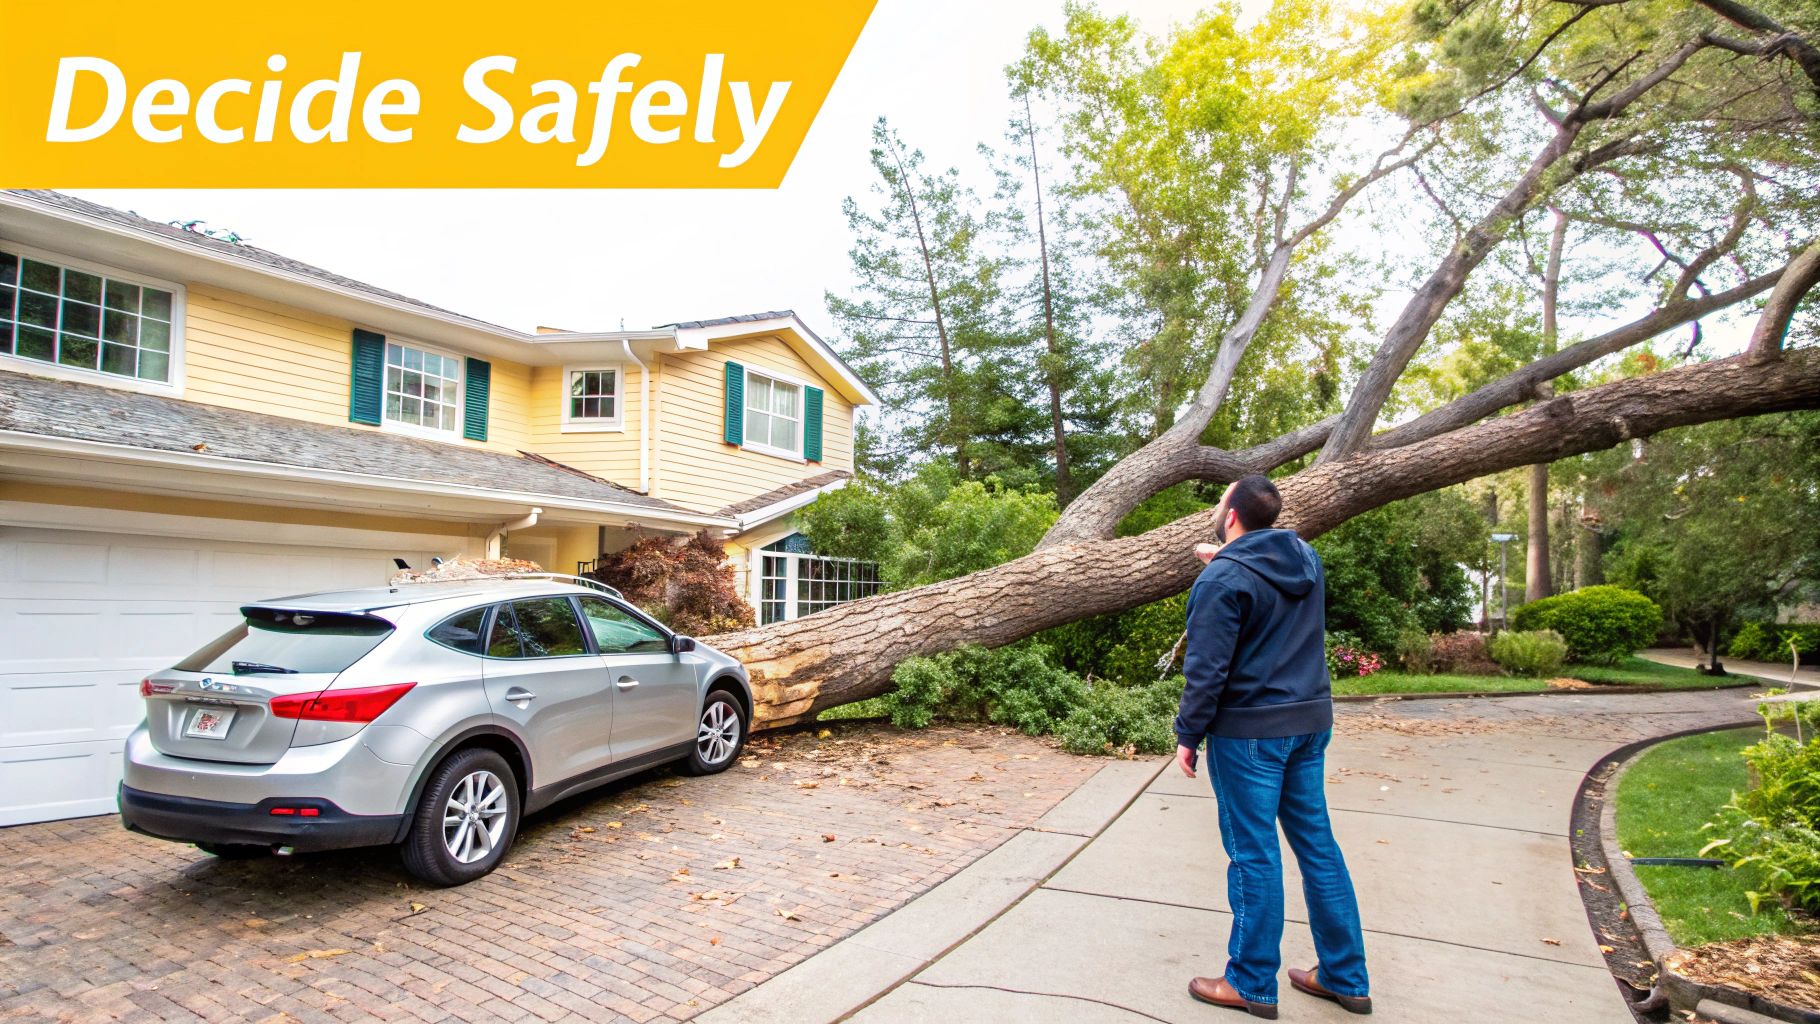
Taking down tree limbs might look straightforward, but a bad cut can permanently cripple your tree or, worse, lead to a serious accident. The trick is knowing when you can safely tackle the job yourself and when it’s time to step back and call in the pros. This guide walks you through everything you need to know, from assessing a tricky branch over your driveway to understanding the techniques experts use to keep trees healthy and safe.
Your Guide to Handling Problem Tree Limbs
Successfully removing a tree limb always starts with a good, honest assessment of what you're up against. Not every branch is the same, and seeing the differences is what protects your property and the tree itself. A small, dead branch you can snip from the ground is a completely different ballgame than a massive, storm-cracked limb hanging over your roof.
Your first move should always be to carefully evaluate the branch's condition, size, and location. Keep an eye out for any red flags that signal this is a more complicated job than it first appears. These signs are often the deciding factor between a DIY Saturday and a call to an expert.
Key Assessment Factors
Before you even think about grabbing a saw, run through this mental checklist:
Branch Health: Is the limb dead, diseased, or just damaged? Dead branches are often brittle and can snap in unpredictable ways. A diseased limb could mean the decay runs deeper into the tree, compromising its overall stability. Our guide on how to determine if your tree is dead or dormant can help you tell the difference.
Size and Weight: How thick is this branch? Once a limb gets thicker than a few inches in diameter, its weight increases dramatically. A heavy branch falling uncontrolled is a serious hazard.
Location and Proximity: Where is this branch hanging? If it's over your house, your neighbor's fence, your car, or—most importantly—power lines, the risk shoots through the roof. Those situations require professional precision, period.
Accessibility: Can you easily and safely reach the limb from the ground, maybe with a pole saw? If the job looks like it needs a ladder and a chainsaw, stop right there. That's one of the most dangerous situations for a homeowner and a clear sign to call a pro.
I see this all the time: homeowners seriously underestimate how heavy a branch is. A 10-foot oak limb that’s only four inches thick can easily weigh over 100 pounds. When that much weight starts falling, it carries a ton of force.
This kind of careful evaluation is especially critical for us here in Central Florida. With hurricane season always on the horizon, taking care of weak or hazardous limbs ahead of time can prevent catastrophic damage when the high winds hit.
DIY vs Professional Limb Removal Quick Assessment
Not sure which way to go? This table should help you make a quick, safe decision.
Scenario | DIY Recommendation | Professional Recommendation |
|---|---|---|
Small, dead branches reachable from the ground | Good to go. Use a pole saw or loppers for a clean, safe cut. | Not necessary. This is a standard home maintenance task. |
Branches under 2-3 inches thick, away from structures | Likely DIY. As long as you have the right tools and a clear drop zone, this is manageable. | Call if you're not confident or don't have proper safety gear. |
Any limb hanging over a roof, car, or fence | Do not attempt. The risk of property damage is extremely high. | Definitely call. Pros use specialized rigging to lower limbs safely. |
Branches near or touching power lines | STOP. Do not touch. This is incredibly dangerous. | Call immediately. This is a job only for certified arborists. |
Large limbs (over 4 inches thick) or high up | Not recommended. The weight and height make it a serious hazard. | Call an expert. They have the equipment and experience for the job. |
Storm-damaged, cracked, or hanging limbs | Stay away. These limbs are unstable and can fall at any moment. | Urgent call. A professional can assess and remove the hazard safely. |
Ultimately, making a smart, safe choice is the most important part of the process. When you're standing in your yard looking up, trust your gut. If a branch makes you feel uneasy, that's your cue to pick up the phone instead of the saw.
Gearing Up with the Right Tools and PPE
Before you even think about firing up a chainsaw or reaching for a pole saw, let's talk about the most important part of the job: getting your gear in order. This isn't just a suggestion; it's the critical first step that separates a clean, successful project from a trip to the emergency room. Proper gear is your first and best line of defense.
Think of Personal Protective Equipment (PPE) as your personal insurance policy against the "what-ifs." A falling branch, a rogue woodchip flying at your face, or a simple slip of the hand can happen in an instant. Skipping any of this gear is a gamble you just can't afford to take.
Your Personal Protective Equipment Checklist
Your defense starts with what you're wearing. Every single piece has a job to do, and they all work together to keep you safe.
Hard Hat: This is non-negotiable. A falling twig from 20 feet up can pack a serious punch, let alone a branch. A properly fitted hard hat is your best friend.
Safety Glasses or Goggles: Your eyes are incredibly vulnerable. Sawdust and small pieces of wood can be launched at surprising speeds, so always protect your vision with ANSI-rated eyewear.
Heavy-Duty Gloves: You'll want gloves that give you a solid grip while protecting you from nasty splinters and scrapes. Go for leather or a tough, reinforced synthetic material.
Sturdy, Closed-Toe Footwear: Steel-toed boots with non-slip soles are the gold standard here. They protect your feet from falling limbs and give you stable footing on uneven or debris-covered ground.
Durable Clothing: Long sleeves and tough pants act as a shield against cuts, scrapes, and whatever insects might be living in that tree. Baggy clothes are a major hazard, as they can easily get snagged on branches or equipment.
Safety isn't a suggestion; it's a prerequisite. I've seen a small, seemingly harmless branch cause a deep gash simply because someone opted for a t-shirt instead of a long-sleeved shirt. Don’t learn that lesson the hard way.
Selecting the Right Tools for the Job
Using the right tool doesn't just make the work easier—it makes it immensely safer. Trying to tackle a thick limb with an undersized tool is a recipe for equipment failure, while a tool that's too big and powerful can be tough to control. The key is always matching the tool to the task at hand.
And if you're working on any branches that are high up, you have to get serious about safety. That means understanding and using the proper working at height safety equipment. While harnesses and secure ladder practices have their place, a pole saw is almost always the safer bet for working from the ground.
Tool Selection Guide
Tool | Best For | Safety Tip |
|---|---|---|
Hand Pruners/Loppers | Small twigs and branches up to 1.5 inches in diameter. | Keep blades sharp for clean cuts that heal well. |
Pruning Saw | Branches 1.5 to 5 inches thick that are easily reachable. | Use smooth, controlled strokes; don't force the blade. |
Pole Saw | High branches up to 4 inches thick, allowing you to work from the ground. | Always maintain a clear drop zone and watch for falling debris. |
Chainsaw | Large limbs over 4 inches thick, for experienced users only. | Engage the chain brake when not cutting and wear chaps for leg protection. |
Remember, a sharp, well-maintained tool is a much safer tool. Give your gear a quick inspection before every use. Look for any damage, make sure blades are sharp, and double-check that all safety features are working as they should. For a deeper dive into the gear needed for bigger jobs, our equipment for clearing underbrush guide offers a broader look at land-clearing tools.
The need for careful vegetation management isn't just a local issue. In 2023, the world saw a shocking 24% increase in global tree cover loss, reaching 28.3 million hectares, much of it fueled by massive wildfires in Canada. This really drives home the importance of proactive management, like the work we do at Palm State Clear Cut in Central Florida creating firebreaks and thinning overgrown lots.
While wildfires were a huge factor, the rest of that loss came from the mechanical removal of trees and limbs for development—the kind of site preparation we handle across Brevard and Polk counties every day. You can learn more about these global trends and the importance of vegetation management.
Mastering the Three-Cut Pruning Method
How you cut a tree limb is every bit as important as why you're cutting it. I’ve seen it countless times: a single, hasty cut on a heavy branch, and snap. The weight rips a long, ugly strip of bark right down the trunk. This kind of wound, often called a "bark tear," is a massive injury that invites pests and diseases and can take years to heal properly.
To avoid this disaster, we use a time-tested technique called the three-cut pruning method. It’s a smart, deliberate approach that removes the limb's weight first, setting you up for a final, clean cut that won't compromise the tree’s health.
Know Your Tree's Anatomy First
Before you even think about starting your saw, you need to spot two key parts of the branch. Getting this wrong is a rookie mistake that can seriously hobble the tree’s ability to heal.
Branch Bark Ridge: Look for the raised, often slightly darker, area of bark where the top of the branch meets the trunk.
Branch Collar: This is the somewhat swollen, wrinkled area at the base of the branch, right where it connects to the trunk. It’s packed with specialized cells that will grow over the wound to seal it.
Your final cut needs to be just outside these two landmarks. If you cut into the branch collar, you’re removing the very tissue the tree needs to close the wound, leaving it vulnerable to decay.
A proper pruning cut is a partnership with the tree. Respecting the branch collar gives the tree the best shot at compartmentalizing the wound and thriving. Cutting flush with the trunk is one of the worst things you can do.
The First Cut: The Undercut
Your first move is a shallow cut on the underside of the limb, about 12 to 18 inches away from the trunk. You only need to go about a quarter to a third of the way through the branch.
The whole point of this undercut is to prevent that dreaded bark tear. As you make your second cut from the top, the branch will eventually give way. This first slice acts as a clean breaking point, stopping any potential rip in its tracks.
The Second Cut: The Relief Cut
Now, move an inch or two further out from your first cut (away from the trunk) and start cutting from the top down. This is your main relief cut, and its job is simple: get the weight off.
Cut all the way through the branch. As you do, the limb will cleanly snap off where your two cuts meet, falling away without yanking any bark off the trunk. All you’ll have left is a short, light stub.
Here's a quick look at the essential safety gear for this kind of work.
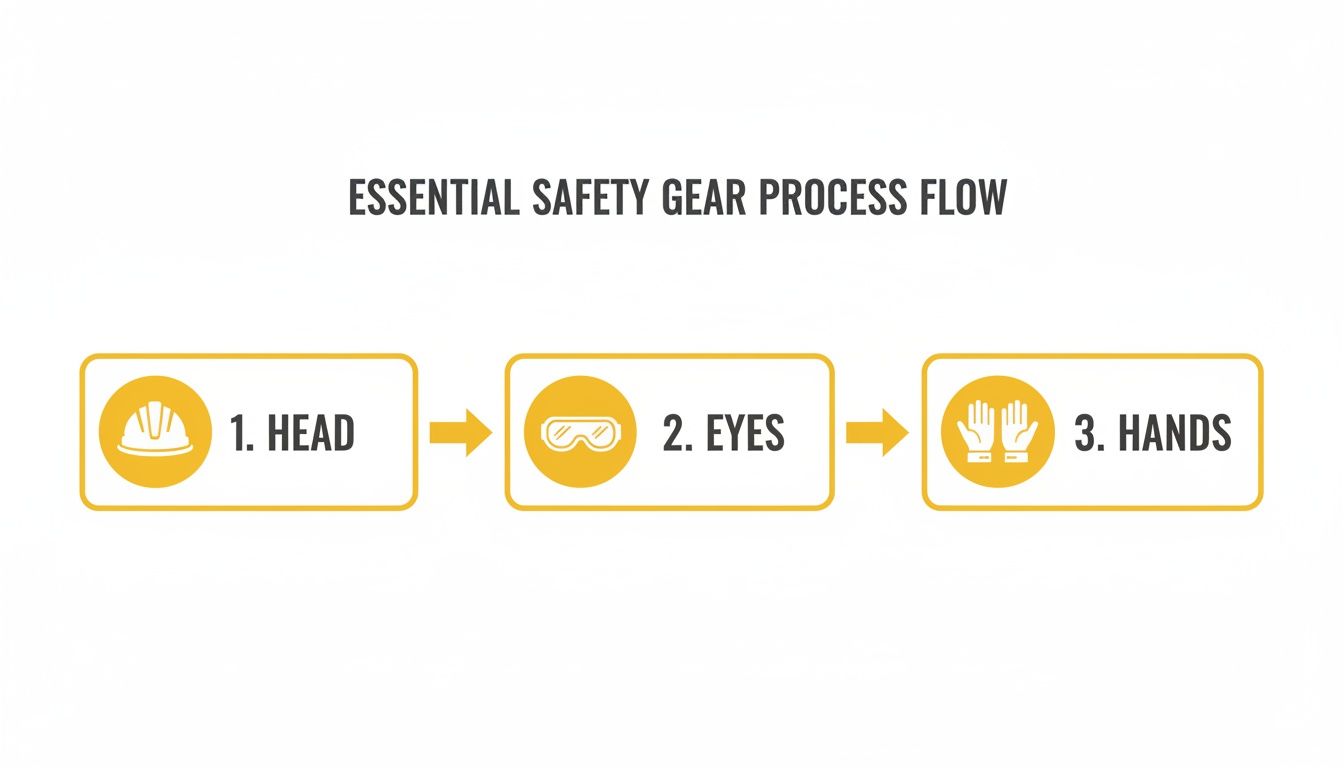
Protecting your head, eyes, and hands is non-negotiable. It’s the baseline for preventing the most common injuries on a job site.
The Third and Final Cut
With the heavy part of the limb gone, you can now make the most important cut for your tree's long-term health. It’s time to remove that stub.
Find the branch bark ridge and branch collar one last time. Position your saw just outside of them and make a clean, downward cut at a slight angle—think roughly 45 degrees sloping away from the trunk. This angle is crucial because it helps rainwater run off the wound, preventing rot.
The Final Cut Checklist:
Spot Your Landmarks: Get a clear visual on the branch bark ridge (top) and branch collar (bottom).
Position the Saw: Place the blade right on the outside edge of the ridge and collar.
Cut at an Angle: Make one smooth cut, following the natural line of the collar.
Support the Stub: Use your free hand to hold the stub. This prevents it from breaking off early and damaging the collar.
When you're done, you should see a clean, almost circular wound with the branch collar perfectly intact. It shouldn't be flush with the trunk, nor should there be a long "coat hanger" stub left over. This perfect cut allows the tree to form a protective "donut" of callus tissue over the wound, sealing it off for good. Getting this method right is the single best thing you can do to keep your trees healthy and strong for years to come.
Handling Large Limbs with Basic Rigging
When you’re staring up at a branch that’s too heavy to just drop, you've officially moved into advanced territory. Taking down tree limbs of this size requires more than just a saw; it demands a system. This is where basic rigging comes into play—using ropes and smart cuts to control a heavy section of wood and lower it safely.
While this technique is a game-changer, it's also where the line between a DIY project and a professional job gets very clear. Trying to rig a heavy limb without a solid grasp of the forces involved is asking for trouble.
Understanding the Forces at Play
Rigging isn’t just about tying a rope to a branch. It’s about managing immense weight and momentum. Once you sever a heavy limb, it wants to do two things: fall and swing. A simple tie-off rope won't just stop it; it will redirect that energy, often creating a pendulum that can send the limb crashing into your house, your fence, or you.
The whole point is to create a controlled descent. This means using a strong anchor point higher up in the tree to act as a pulley, letting you lower the cut piece gently instead of letting it free-fall.
This is physics in your backyard. A 300-pound limb doesn't just fall; it transfers energy. Miscalculating that energy transfer is how accidents happen. Your goal is to dissipate that force slowly and predictably.
Essential Gear for a Basic Rigging Setup
A safe rigging operation absolutely depends on having the right gear. Using underrated ropes or improper knots is a recipe for disaster. Here are the bare minimums for a very basic setup:
A Strong Anchor Point: You need a sturdy, healthy branch union well above the limb you're cutting. This spot has to bear the entire weight of the cut section as it comes down.
Lowering Rope: This is not your average hardware store rope. You need a high-strength, low-stretch arborist rope made to handle heavy loads without snapping.
Guide Rope (Tagline): A second, lighter rope tied to the limb lets a ground person steer the section away from obstacles as it’s lowered.
A Competent Ground Person: You absolutely cannot do this alone. You need someone on the ground whose only job is to watch the limb, manage the tagline, and communicate with you constantly.
The Inescapable Need for a Clear Drop Zone
Before you make a single cut, your work area must be completely clear. This "drop zone" should be a wide circle around the base of the tree where the limb will land. Move everything out of the way—patio furniture, tools, cars, and especially people and pets.
Your ground person is crucial for maintaining this safe zone. Their role is to keep the area secure and provide a second set of eyes on the limb's movement, anticipating its swing and guiding it into the designated space. Think of them as your co-pilot on the ground.
Methodically removing tree limbs is part of a much larger picture. From 2001 to 2023, the world saw a major spike in annual tree cover loss, with commodity-driven felling making up 40-50% of it. This rapid pace, equal to clearing 2,400 trees per minute, highlights the urgent need for efficient solutions like the state-of-the-art mulching we offer at Palm State Clear Cut for Central Florida's ranchers and municipalities. You can find out more about these global tree loss statistics and their drivers on Statista.
Red Flags: When Rigging Is Not a DIY Job
Knowing your limits is the most important skill in tree work. While it's useful to understand basic rigging concepts, actually applying them is another matter entirely. Trying to rig a limb in these situations is a gamble you should never take:
Limbs Over Structures: If the branch is hanging over any part of your roof, a shed, a fence, or a deck, do not attempt it. The potential for costly damage is enormous.
Proximity to Power Lines: Any work near utility lines is off-limits. This is a non-negotiable rule. Electricity can arc from the line to your tools or the tree itself, creating a lethal hazard.
Decayed or Unstable Trees: If the tree shows signs of rot, disease, or structural weakness, you can't trust any part of it to serve as a safe anchor point.
Complex or Heavy Limbs: If the branch is exceptionally large, long, or awkwardly positioned, the forces involved become far more complex and require professional equipment and expertise.
In these situations, the risk far outweighs any potential savings. Professionals use specialized friction devices, multiple ropes, and years of experience to dismantle trees in tight spaces safely. When you see these red flags, your best move is to call in a pro.
Managing Debris After the Cut
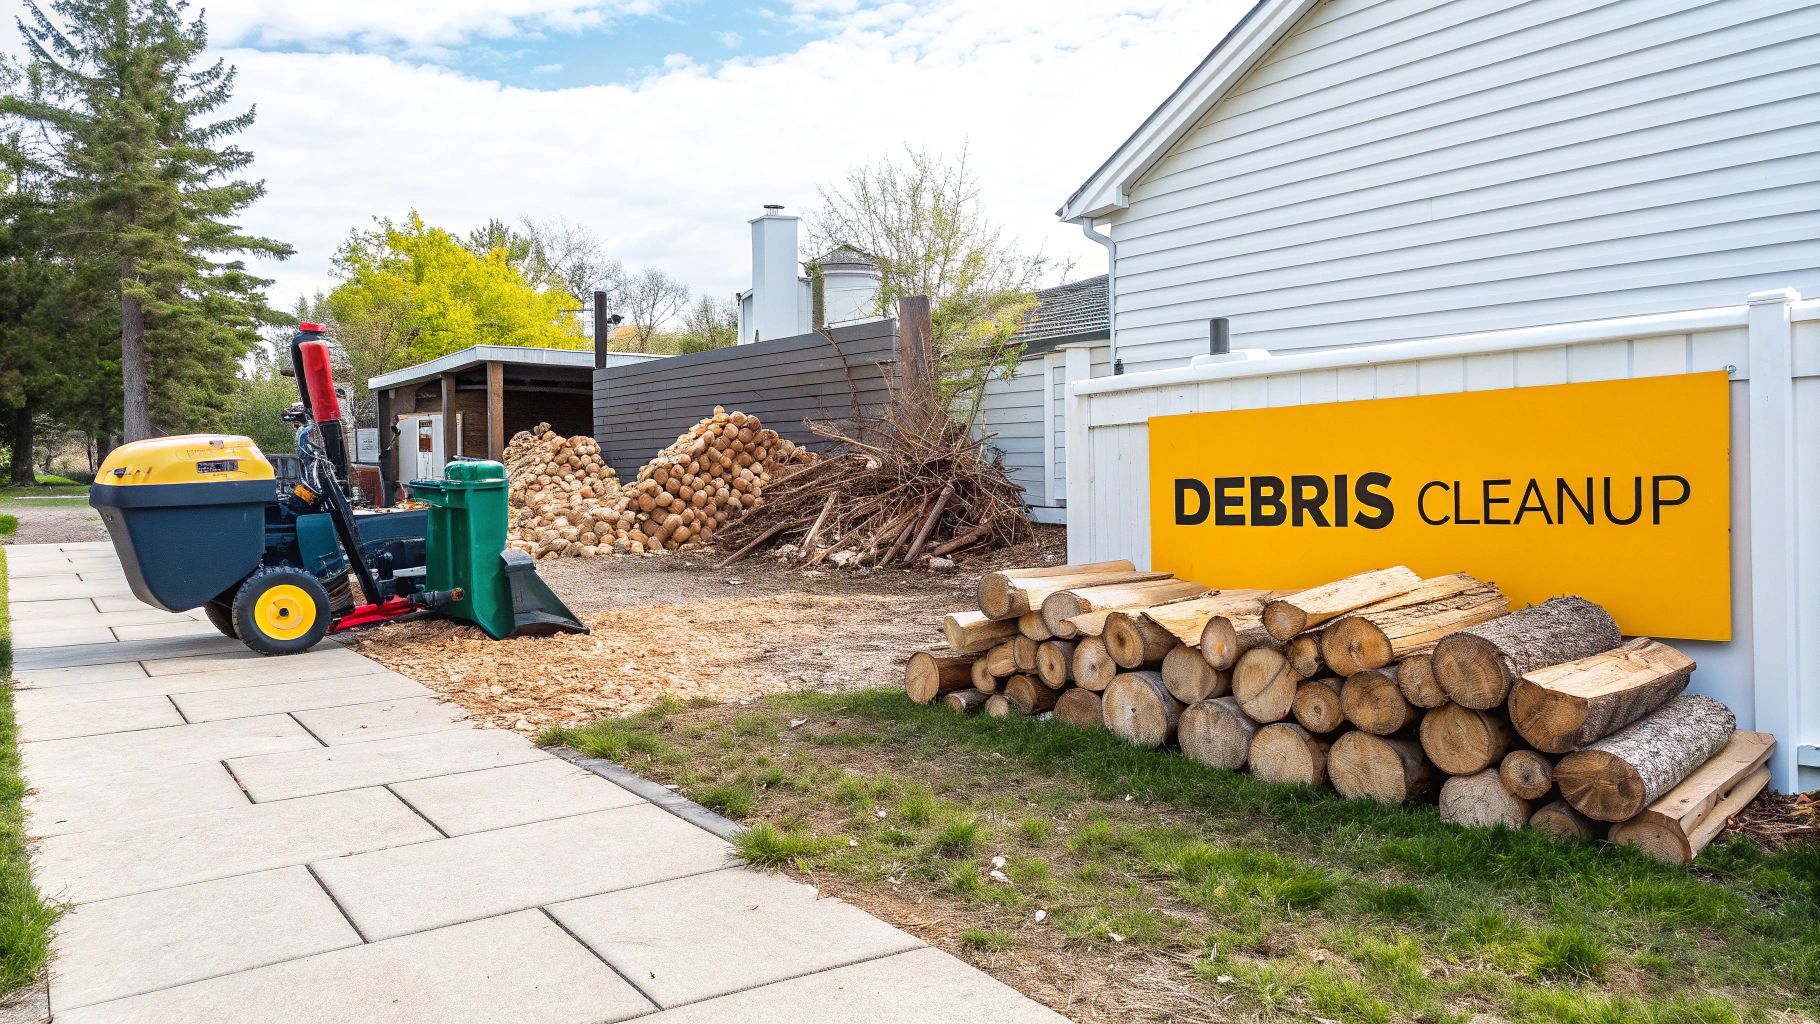
Once the last piece of the limb is safely on the ground, the most dangerous part of the job is over. But don't pack up your tools just yet. You’re now looking at a pile of branches, leaves, and maybe some hefty logs. A solid cleanup plan is just as important as the cutting itself if you want to get your property back to normal quickly and responsibly.
What you do next really depends on the size of the mess. A few small branches might just need bundling for curbside pickup, but a significant amount of wood calls for a more strategic approach. Letting it sit is just asking for pests and an eyesore, so it's best to get it processed right away.
Turning Branches into Resources
Instead of seeing a pile of waste, try to see it as a resource. Those smaller branches and all that foliage are perfect for turning into valuable organic material for your garden and landscape.
A wood chipper is a beast for this kind of work. You can rent one for a day and turn a massive brush pile into a neat mound of wood chips in just a few hours. These chips are fantastic as mulch—they help the soil hold moisture, keep weeds down, and slowly break down to feed your plants.
For the larger, thicker logs, you’ve got a couple of great options:
Firewood: If you have a fireplace or a fire pit, cutting and splitting the logs is a no-brainer. Hardwoods like oak and maple are especially good for a long, slow burn.
Local Woodworkers: You might be surprised who’s in your area. Local artisans, woodworkers, or even small sawmills are often happy to take quality logs off your hands, particularly if it's a desirable wood species.
A clean worksite is a safe worksite. Processing debris as you go not only makes the final cleanup easier but also reduces tripping hazards and keeps your drop zone clear for any remaining cuts.
Navigating Central Florida Debris Rules
Here in Central Florida, getting rid of yard waste comes with specific local rules that can change a lot from one county to another, or even between HOAs. It's crucial to know the guidelines for your area, like in Orange or Seminole counties, to steer clear of fines.
Your first stop should be your local municipality's website to check their rules on curbside pickup. Many have strict limits on the size and volume of bundles they’ll take. For anything more than that, you’ll probably need to haul it to a designated county landfill or transfer station yourself.
Burning is another path, but it's heavily regulated. You will almost certainly need a burn permit from the Florida Forest Service, and there are tight restrictions on weather conditions, distance from structures, and what you’re even allowed to burn. Never just assume it’s okay to light a fire. Your HOA might have even tougher rules, often banning open burning completely.
When it all feels like too much, a professional service like Palm State Clear Cut simplifies everything. We don't just handle the careful removal of tree limbs; we also offer complete debris hauling. We'll make sure everything is cleared away efficiently and in line with every local regulation. It’s the perfect way to take that final, exhausting step off your plate and leave you with a clean, safe property.
When You Should Call a Professional
Knowing your limits is probably the single most important skill in DIY tree care. It can be satisfying to tackle a few small branches on a Saturday afternoon, but there are some very clear red flags that signal a job has crossed the line into dangerous territory.
Recognizing these moments isn't about admitting defeat. It's about making a smart, safe call that protects you, your family, and your property. Your well-being is always worth more than the cost of a service call.
The Absolute No-Go Situations
Some jobs carry such an extreme level of risk that they should never, ever be attempted by a homeowner. If you find yourself in any of these scenarios, your only move should be to pick up the phone and call a pro.
Near Power Lines: Any limb that is close to, touching, or could possibly fall onto a power line is an absolute no-go. A living tree can conduct electricity, creating a lethal risk. This is a job reserved exclusively for certified professionals with specialized training.
On a Ladder with a Chainsaw: This combination is a notorious recipe for disaster. Think about it: the instability of a ladder mixed with the raw power and kickback potential of a chainsaw. It’s responsible for a shocking number of serious injuries every year. Just don’t do it.
Requires Climbing the Tree: Without professional-grade climbing gear, ropes, and extensive training, going up into a tree to remove a limb is incredibly hazardous. One wrong move or a single slip can be catastrophic.
The moment a job requires you to leave the solid ground, the risk factor skyrockets. When you hire a professional service, you aren't just paying for the work; you're paying for their expertise in managing that risk safely and effectively.
For a broader perspective on safety and getting jobs done right, it's always wise to understand which home projects are best left to professionals.
Other clear signs it's time to make a call include spotting significant disease or decay—these can make a tree's structure dangerously unpredictable. Also, any large branch that requires complex rigging to avoid crashing down on your roof, or one that's simply too high to reach safely from the ground, absolutely warrants a professional assessment.
Frequently Asked Questions About Removing Tree Limbs
When you're staring up at a tree, planning to take off a limb, a lot of questions can run through your mind. It’s a job that feels simple on the surface but gets complicated fast. Getting clear, expert answers is the only way to make sure you do it safely and effectively.
What Is the Best Time of Year to Prune Trees in Florida?
For most trees here in Florida, you'll want to aim for late fall or winter. That’s when they’re dormant, and making cuts is less stressful for them. Pruning during dormancy also cuts down on the risk of pests or diseases getting into the fresh wound.
Of course, there's one big exception to this rule: if a limb is dead, looks diseased, or is hanging dangerously, you need to get it down immediately. Don't wait for the right season—safety always comes first.
Pro Tip: Whatever you do, never take off more than one-third of a tree's canopy in a single year. Being too aggressive can send the tree into shock, stunt its growth, and leave it wide open to problems.
Do I Need to Seal the Cut After Removing a Limb?
This is a classic question, and the advice has really changed over the years. For a long time, people thought sealing a cut was the right move. But what we know now is that trees are remarkably good at healing themselves.
The spot where the branch meets the trunk—the branch collar—is packed with specialized cells designed to close over a wound. Slapping sealant over it can actually trap moisture and fungus right where you don't want them, leading to decay. It usually does more harm than good.
We break this down even further in our practical guide to sealing tree cuts for healthier trees.
Can I Just Use a Single Cut for a Large Branch?
Absolutely not. Please don't do this. Trying to take down a heavy branch with a single cut from the top is one of the fastest ways to seriously damage your tree.
The sheer weight of the limb will cause it to snap and fall before you're even through the cut. When it does, it will tear a long, ugly strip of bark right off the trunk. This creates a massive wound that’s like a welcome mat for rot and disease. The professional three-cut method is the only safe way to remove the weight first.
Does Homeowners Insurance Cover Damage From a Fallen Limb?
Sometimes, yes. If a limb comes down and smashes your roof or car during a storm or some other "act of nature," your policy will likely cover the repairs.
But here’s the fine print: most policies will not pay for the removal of a limb that just falls into your yard without hitting anything. The key is damage to a structure. If something does get hit, be sure to take plenty of photos before you start cleaning up and call your insurance agent right away.
When the job is too big, too high, or just too close to power lines for comfort, trust the professionals at Palm State Clear Cut to handle it safely. We have the right equipment and years of experience to manage any tree-related challenge on your Central Florida property. Visit us at https://palmstateclearcut.com for a free quote and some well-deserved peace of mind.

Comments